
Today I am going to teach you how to use the Ogden to create a really fun and simple baby doll dress. I sewed up this dress using rayon fabric that I designed in collaboration with Workroom Social awhile back. You can find the fabric here. There are so many fun prints to choose from. This rayon is really the perfect fabric for a dress like this. It is soft and has lots of movement while still being opaque and easy to wash and wear.

For this hack you will only need three pattern pieces. You care going to set aside the main front and back pieces and just use the strap piece and the front and back lining pattern pieces.

You are going to cut out your strap pieces like normal. For pattern pieces 3 and 4 you are going to add 1 inch to the bottom of the pattern. This gives a bit more coverage than the lining which still being short and cropped like a babydoll dress. You can definitely add more or less depending on your preference. You will cut out 2 of each of the front and back lining pieces. One set will be for the main bodice pieces and the other set will be for the lining pieces for a fully lined bodice.


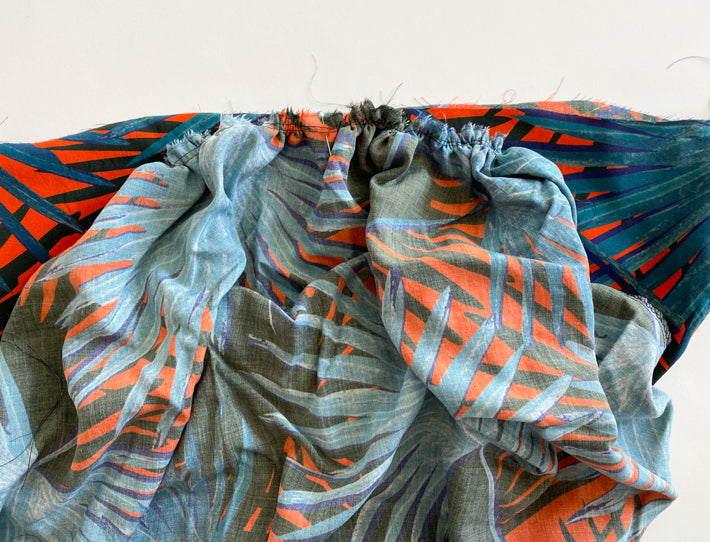
For the skirt portion of the dress we are going to be cutting out two rectangles. Decide how long you want the skirt portion and add a few inches for seam allowance, hem allowance and a little wiggle room. For the width you are going to cut it 1.5 x the width of the bottom of your front and back bodice pattern pieces. I cut out a size 8 and found that each of mine measured about 10in. I multiplied that by two since it is cut on the fold. making the front and the back about 20" each. So, 20" x 1.5 means that I cut two rectangles that were each 30" wide and about 25" long. Obviously all of these measurements are subjective.

Now that everything is cut out, let's get sewing. To start off sew the bodice portion of your dress just like the Ogden instructions letting one set of front / back be the main bodice and the other will act as the lining..


Try on the bodice section of your dress. When you stand to the side, the hem should be even front to back. If not, go ahead and trim it.

Take the lining and press the hem of the lining only up by 3/8" all of the way around.

For the skirt portion of your dress, sew up the side seams, and finish the side seams be serging, using a zigzag stitch, pinking, or by sewing french seams. To make it easier, mark the center of the front and back skirt along the top.
Add two rows of gathering stitches to the front and skirt panels. The first row should be at 3/8" and the second at 5/8". Gather the top of the skirt so it matches up with the main bodice and pin it (keep the lining up and out of the way).
Once you have pinned it and the gathers look even, Stitch the skirt to the main bodice at the normal 1/2" seam allowance.
It should look something like this.

Press the seam allowances up towards the bodice.

Pull the lining down and pin it so that it just covers the stitch line. This is a good place to use zipper tape if you have it.

On the right side of the dress. Stitch in the ditch at the seam line, catching the lining in the stitching on the underside.

It should look like this on the right side.

And like this on the inside.

Give your dress a try on and check the length. Mark where you want it to end. Add 1" for the hem and trim off any excess.

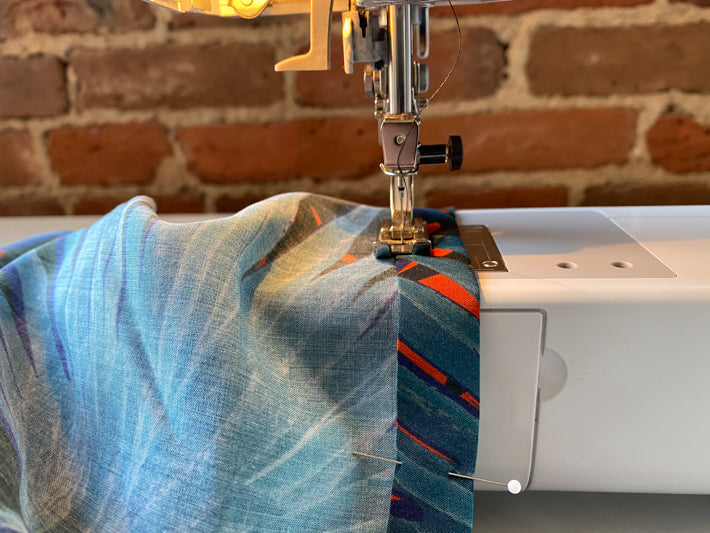
Fold the hem 1/4" and then another 3/4". Press and pin. Stitch to finish.


That is it! I love how this hack for the Ogden cami turned out so much! I have already made another one in black and have plans to make a third with an added ruffle for a maxi length dress.
I hope enjoyed this tutorial and found it helpful. If you need to purchase the Ogden you can do so here.