Today I am going to share a simple hack for the Rory Jumpsuit so you can omit the D-rings but still have some waist definition by adding a bit of elastic to the back and sides. This will work with any of the jumpsuit views, but I chose to use the shorts version with the extended sleeves.
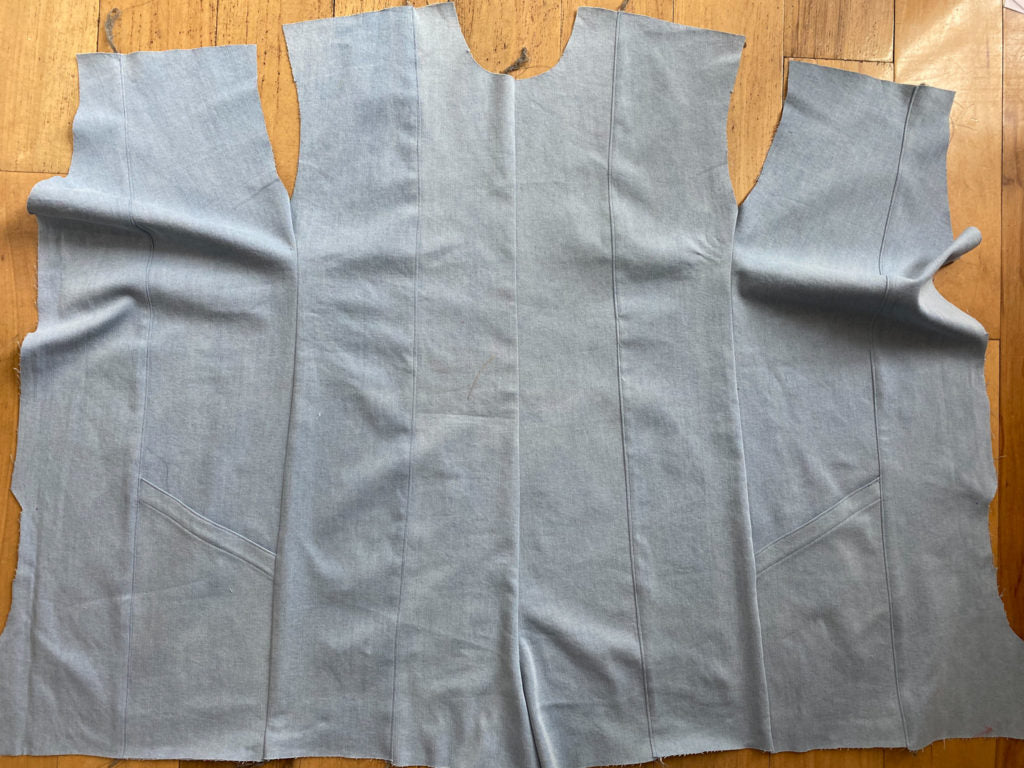
To begin, cut out and assemble your pattern according to the instructions. Instead of sewing up the shoulder seams, sew up the side seams so that when you lay it flat, the back is in the middle and the fronts are extended on the two sides.


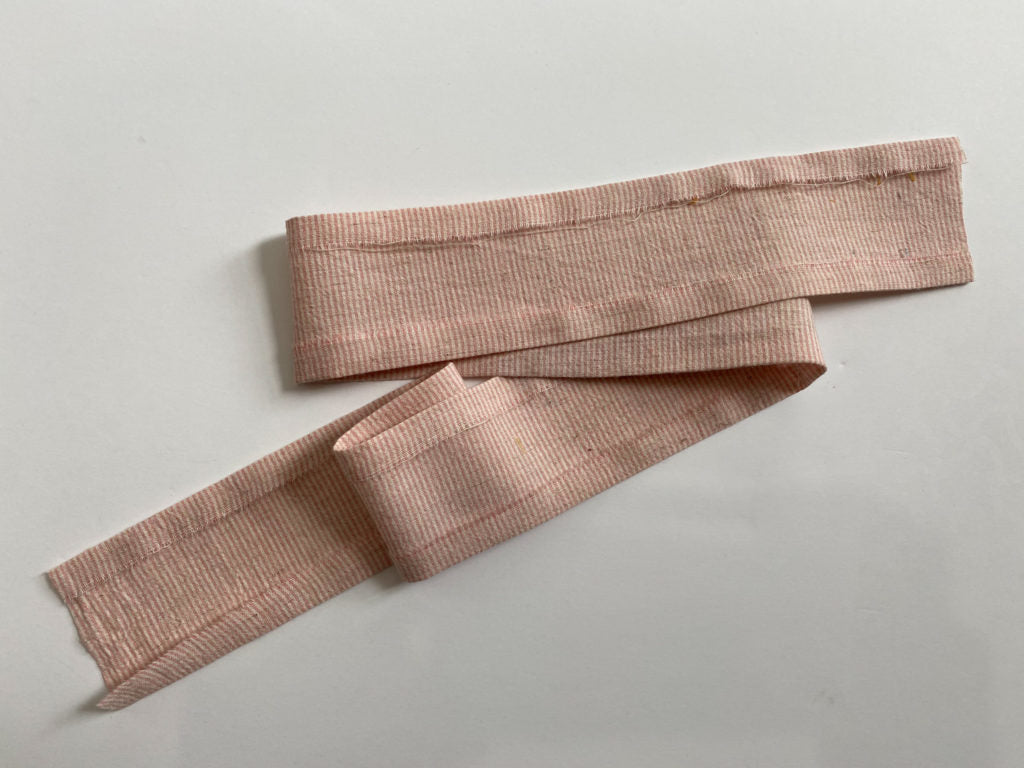
Take a strip of fabric that is the height of your elastic (mine is 2 inchs) plus 1 inch for seam allowances and 1/4" for ease. So mine is 3 1/4" tall. This will be the height of your elastic casing. The width will measure from the first front princess seam on the left, to the one on the right, plus one inch for fold under.

Press the two long edges in by 1/2".

Press in short ends by 1/2".

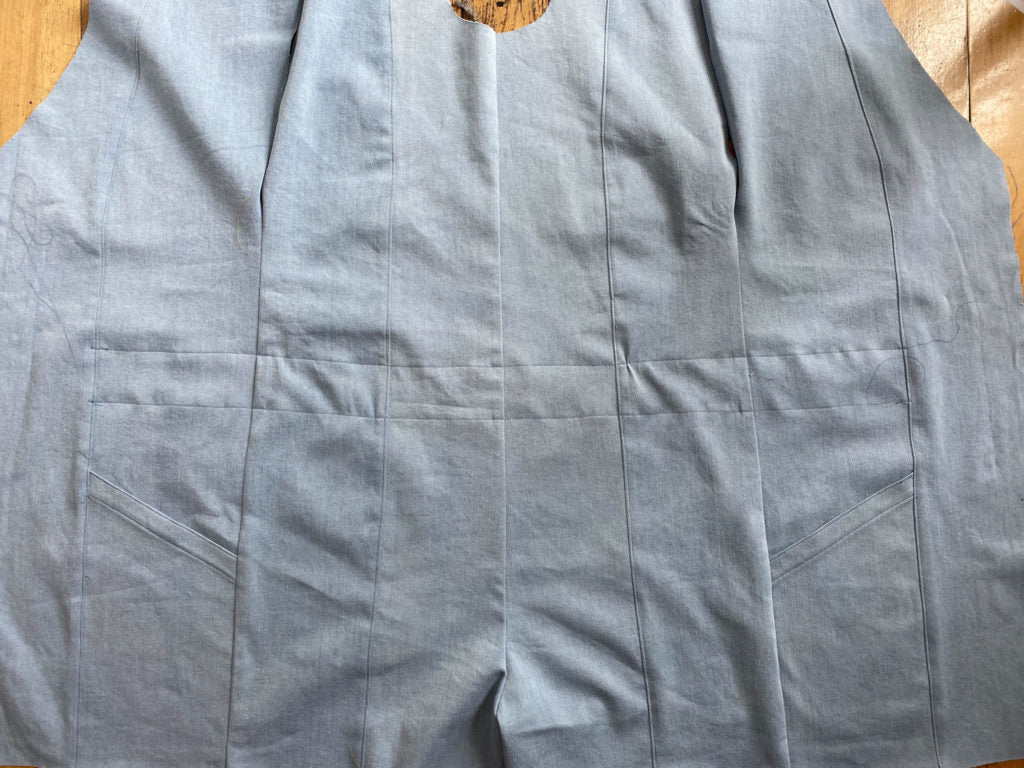
Place the strip on the inside of your jumpsuit so that it centers over the D ring markings.

Pin along long ends.

Edgestich along long ends.


Sew up the rest of the jumpsuit. I decided to wait on the buttons until the end but you can add those now if you want.

Cut a piece of elastic that is a few inches shorter than your waist- you will trim it more later.
Attach a safety pin to one end and insert it thru the casing, leaving ends extended.


Check the fit of the elastic. Dont make it too tight or it will pull on the buttons.
Once it's right, trim and tuck the ends so that they tuck inside the short folded ends of the casing. Pin.

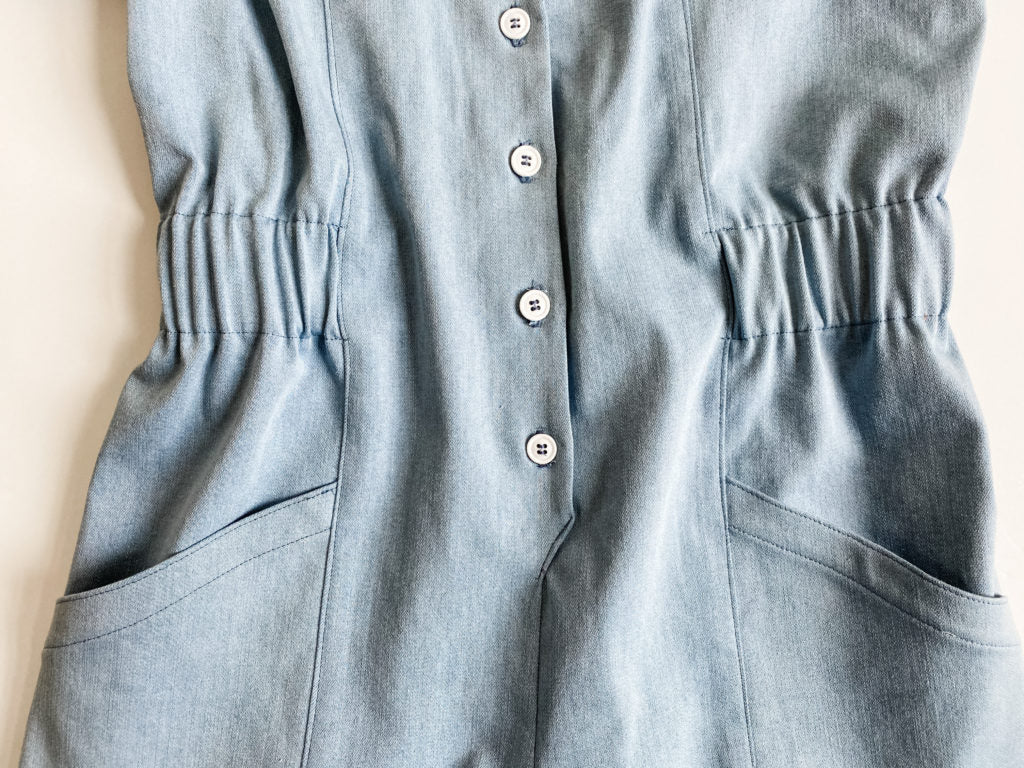
On the right side of your jumpsuit, stitch in the ditch of the princess seam at the section where it covers the waistband casing. Make sure it secures the elastic and closes up casing. It will look like this:

And that is it! A super easy and fun hack for the Rory Jumpsuit.

