Welcome to Day 1 of the Marlo Sweater Sewalong. Please note that I will be using a regular sewing machine, but your may also use a serger for many of the steps.
Before you start sewing, I do recommend testing your stitches. Because of the oversized nature of the pattern and depending on your fabric choice, you may be able to get away with a straight stitch, or you may find that a stretch stitch is more suitable. I recommend taking a swatch of fabric and folding it in half to try out stitches. I would try a straight stitch, a stretch stitch setting on your machine (it looks like a lighting bolt), or an elongated zigzag stitch which is my favorite. For an elongated zigzag stitch I put my settings at .5mm wide and 2.5mm long, but your should test on your fabric and machine and adjust as necessary.

Before starting, make sure you have transferred all notches from your pattern pieces to your fabric. I usually just do a small 1/4" snip, but if your fabric is a loose weave you may not be able to see the snip. In this case I would use a marking tool such as chalk to mark each notch.


With right sides touching, pin Neck Band sections together at the center back (The short end with the double notches marks center back). Serge or sew the center back seam with a stretch stitch in a 3/8" seam allowance. Press seam allowances open or toward one side.

With wrong sides touching, fold Neck Band in half lengthwise. Press.

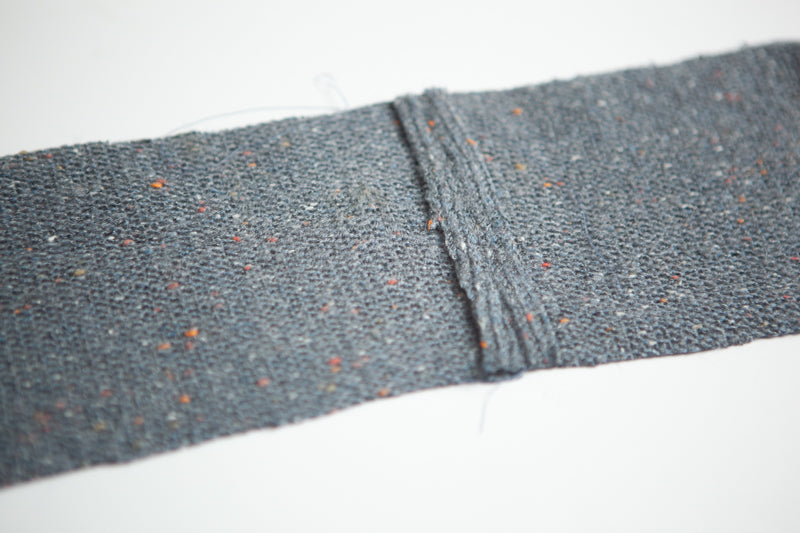
Open Neck Band back up. Apply fusible interfacing to the bottom neckband edges on the wrong side to stabilize the button/buttonhole area. The fusible interfacing should be placed 3/8" from the bottom and right outside edges, aligning with the center fold you pressed, as pictured.


Set Neck Band aside for now.
THE FOLLOWING STEPS ARE FOR VIEW B ONLY. PROCEED TO SEWALONG DAY 2 FOR VIEW A.
Now we are going to prep and attached the pockets for View B. To stabilize the pocket opening, apply fusible pocket interfacing to the wrong side of the Pocket, placing interfacing 1/4" down from upper raw edge, as pictured.

With wrong sides touching, fold the upper edge of the Pocket down by 1/4" and press.

Flip over so the right side of the pocket is up. With right sides touching, fold back the upper edge of the pocket at the notches. Pin.

Stitch the side edges of the pocket from the upper folded edge to the lower fold at 3/8" seam allowance. Clip corners.


Turn the upper corners of the Pocket right side out. Press carefully to create nice, sharp right angles. Pin in place.

Starting just before the fold, bast the pocket sides and around the curved lower edges, leaving a long tail of thread free at both ends of stitching. Place this row of basting stitches a scant 3/8" from the raw edge.
Using the thread tails at either end of basting, pull gently as you slightly gather the lower curved edges of the Pocket. This will help you to neatly turn in the 3/8" seam allowance all around the side and lower edges of the Pocket. Press.


To secure the fold at the top of the pocket, stitch close to the lower pressed edge.

With right sides facing up, pin each pocket to the Front Sweater, matching the upper corners of the pocket to the placement dots marked on the Front Sweater. Carefully pin in place.

To secure the pocket, stitch close to the folded edge, carefully following the curved lower edges. Reinforce upper ends by backstitching securely.

Repeat all of the pocket steps for the other side of the sweater / other pocket. That's it for today! See you back here tomorrow for Day 2 of the Marlo Sewalong.