I have made so many Hudson pants over the years that I could sew them in my sleep. I have found that every year I need to make a few new pairs for me or my kids and I often batch sew them so I can cut and sew multiple pairs in a fraction of the time. I will say, don't batch sew them until you have made a couple pairs first and checked the fit, but once you have that dialed in, batch sewing is a great option.
I often share my batch sewed Hudsons on instagram and get requests for the process so I thought it would fun to sew up three pairs of Mini Hudson pants for my kids to show you. You can definitely use the womens and mens patterns as well when batch sewing since the instructions are identical for all three, I just happened to need mini versions this time around.
For fabric I used three beautiful colors of french terry and matching ribbing from I See Fabric. They offered to gift me the fabric to try out and I thought this would be the perfect pairing. I am very impressed with the fabric. Gorgeous, on trend colors that are hard to find and the fabric is super soft and feels like great quality. I've already put in another order on my own dime.

OK, let's get sewing. Because I am batch sewing them I forgo coordinating thread for my serger. I put gray in and used it for all three pairs. If you are using your sewing machine you will want to do the same thing for your thread. You still need matching thread for the buttonholes and topstitching, but we will wait til the end to switch those out.

Next we sew all of the pockets. Start by ironing the pocket bands and then following all steps for pockets. At the end, line your fronts up like so to make sure all is good and you have a right and left for each .

Now, take each back leg and sew up the outer and inside seams and line them all up again.

Take each right and left leg and sew up the crotch seams as the instructions say.. Then line them up.

Let's finish everything else we can before we need to use our coordinating thread. Start by sewing up the cuffs.

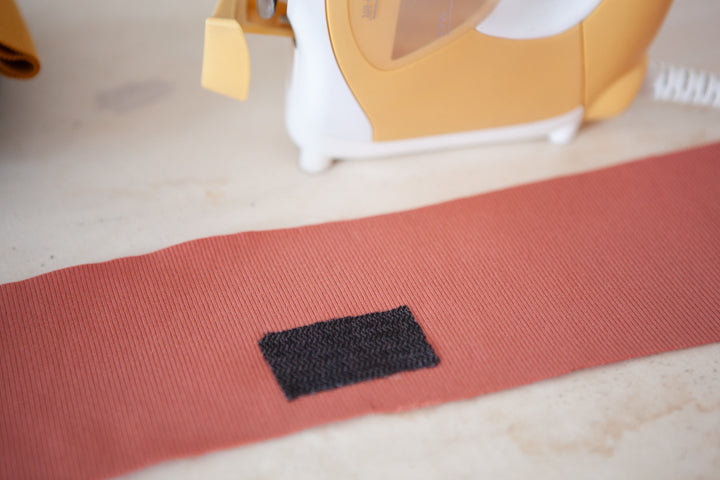
Turn them right side out and fold them in half. Give them a press. While at the iron, go ahead and apply the interfacing to the waistband to prepare for the buttonholes.

Put the waistband aside and sew each cuff on.

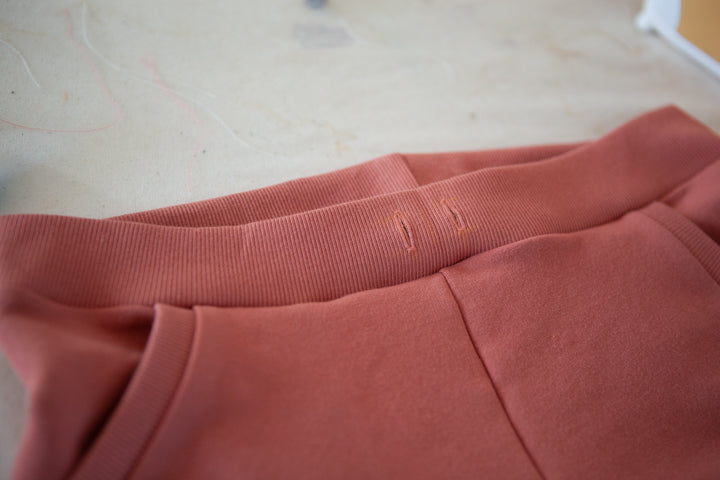
Now it's time to switch to your matching thread. I only put it in the top (not the bobbin) to make it easier, but that is up to you. You are going to finish each pair of pant at this point, switch out the thread, and finish the next. I am going to do my pink pair first by sewing on the buttonholes.

Next I sew the waistband on, insert the elastic,
and then finish by sewing the drawstring topstitching on the waistband and adding in the drawstring.

Finish up your other pairs and that is it. Much faster than sewing them each up individually.
